

Several of the parts on the KillaJoule were 3D printed, and even more of them will be 3D printed on Green Envy. The largest 3D printed part on the KillaJoule is the aerodynamic skin for the sidecar. You can read more about it below. We are also experimenting with a wheel with 3D printed rubber tread, you can read about that on the page “Re-inventing the wheel”. You can learn more about 3D printing on my other website here.
3D printed sidecar skin
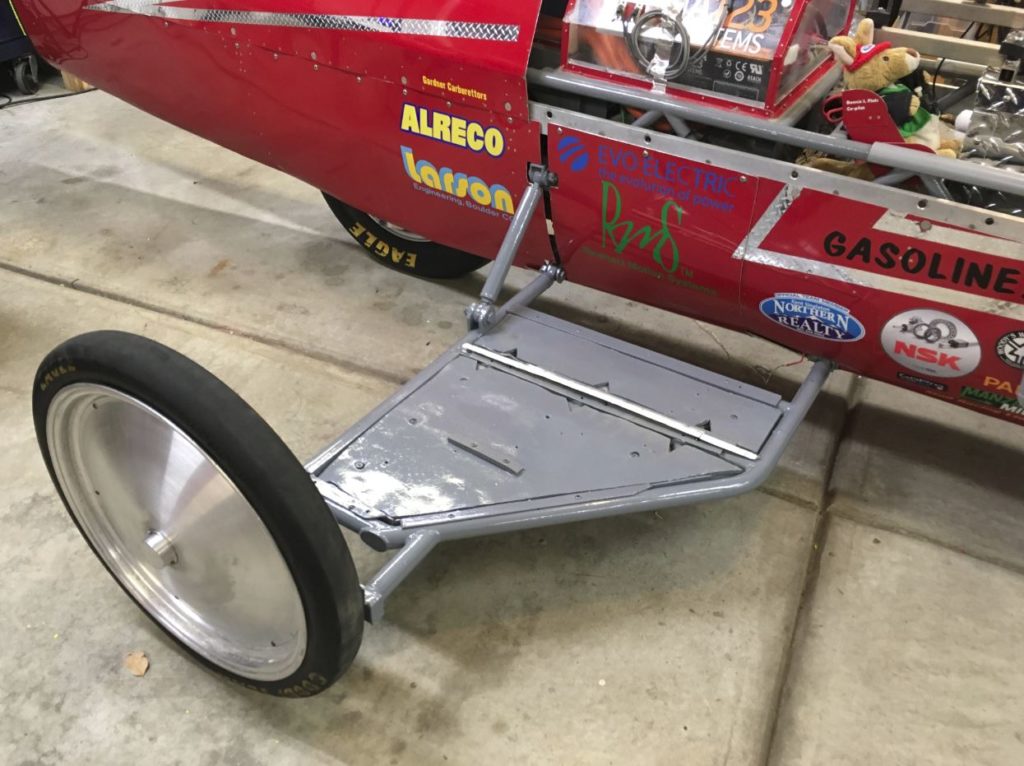
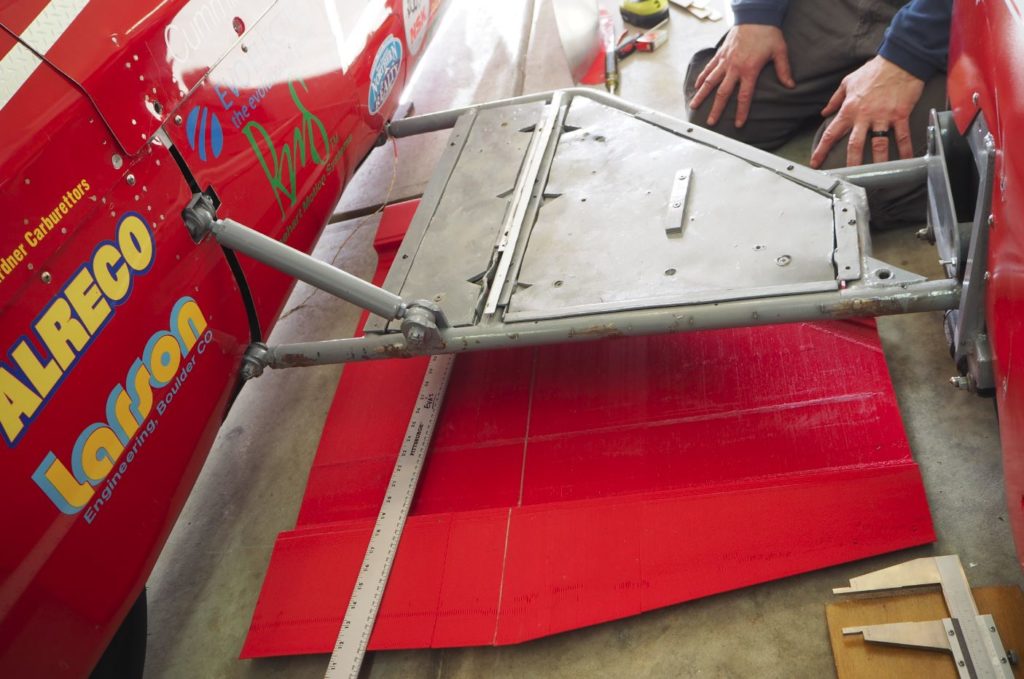
The KillaJoule sidecar is made from a steel frame that is covered with an aerodynamic “skin”. Inside the steel frame are two steel trays, that hold 60 kg (132 lbs) of lead plate ballast. The ballast simulates a passenger is both a requirement in the rulebook and needed for stability.
The aerodynamic skin surrounding the steel frame and the steel trays fills two functions on the KillaJoule: it makes the sidecar more aerodynamic, and it creates “downforce”. The more aerodynamic shape decreases the aerodynamic drag, or air resistance, and makes the bike faster. The “downforce” pushes the motorcycle downwards and increases the traction. If done correctly, this also makes the bike faster. The downforce is created by making the skin like an airplane wing, but upside down! It sounds simple, but isn’t so simple in reality. The shape has to be exactly correct, and follow a mathematical formula to create downforce and at the same time very low air resistance.
We went through several different versions of the skin made from aluminum sheet metal. The first one was quick to build and had the right amount of downforce, but had very high air resistance. The second was took months to build and had very little air resistance, but not enough downforce. Finally, Bill and I decided that we needed to 3D print the skin, but first we had to build a 3D printer big enough for the job because we couldn’t afford buying one. A large enough 3D printer would have cost over US$ 20,000, so instead we built our own.
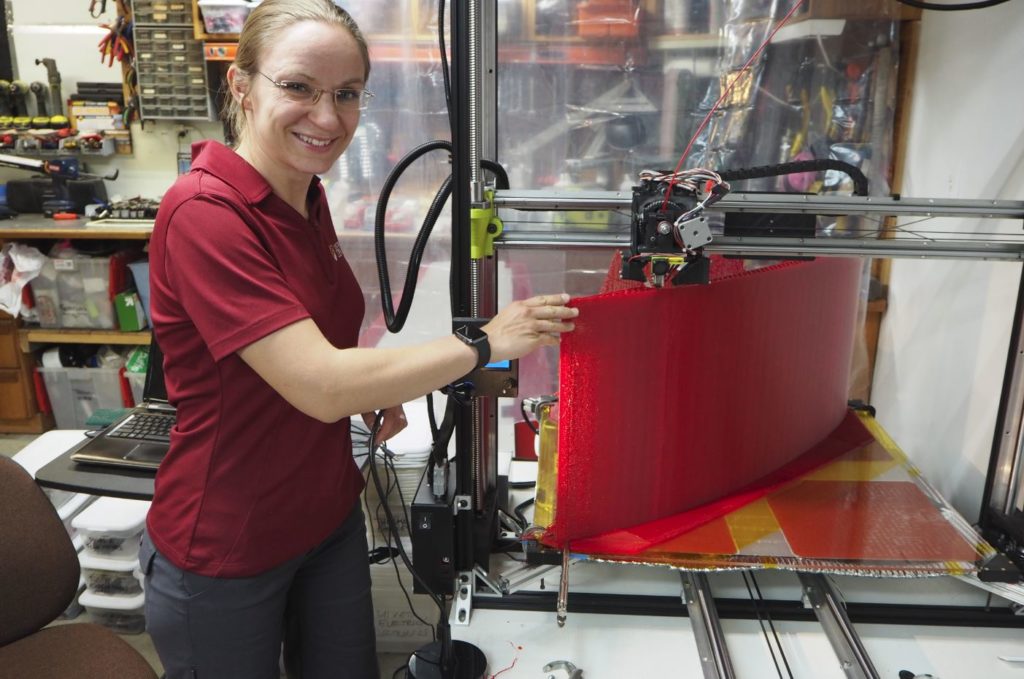
During the printing of the sidecar skin I made this video. I had planned a follow-up video, but never got around to it. Instead, you get to see the finished sidecar skin if you scroll down this page.
The finished sidecar skin (together with the 3D printed sidecar wheel which can read about here).
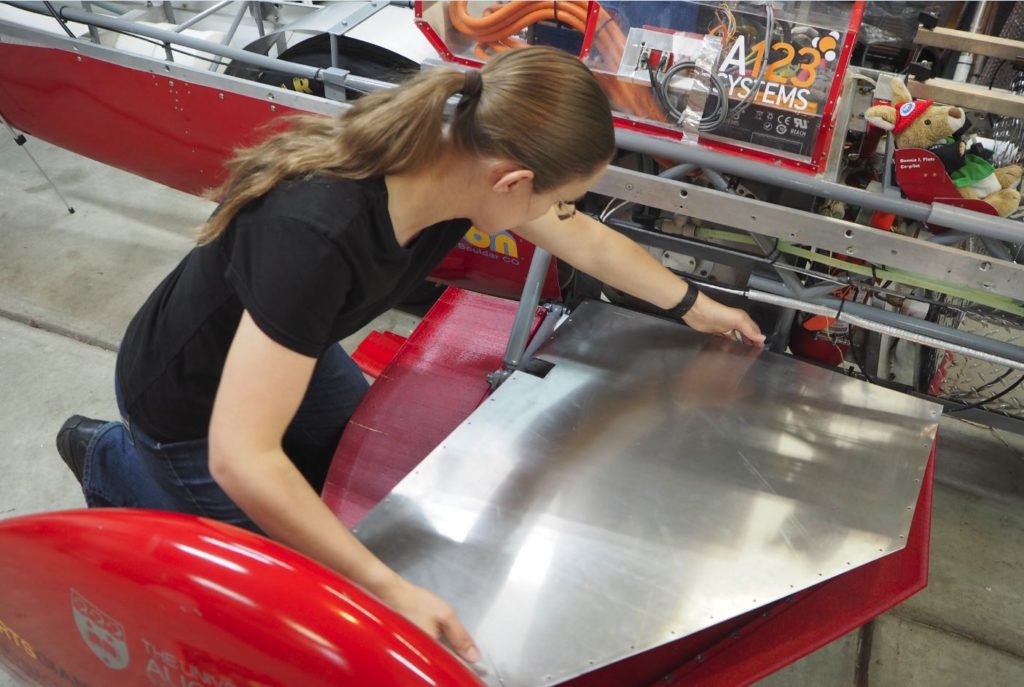
But let’s start with the innards: the KillaJoule sidecar has a high-strength steel frame, made from the same material as the roll-cage protecting the driver. Two steel trays hold 60 kg of lead plate, serving as mandatory (and needed!) ballast.
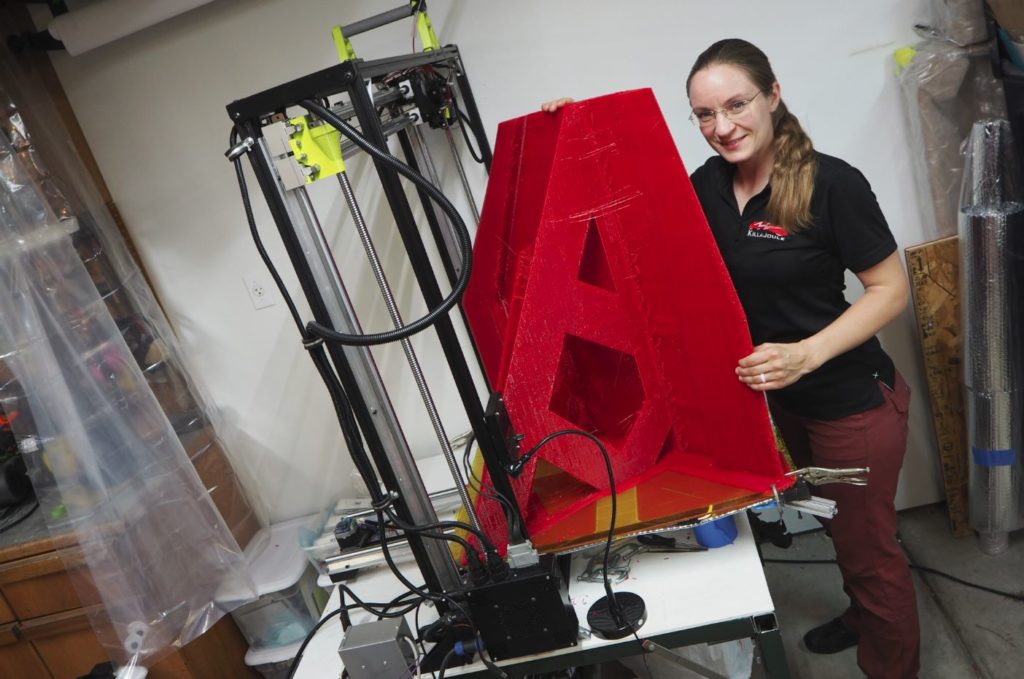
We ended up printing three versions of the sidecar skin. Each print took 6 days to complete, and we had about half a dozen restarts before it all worked well. Here it is about 3 days into the process. The skin was designed in CAD (Autodesk Inventor), then “sliced” using Simplify 3D, before it finally was sent to the 3D printer.
Large 3D prints tend to warp and the corners peel up. For normal size printers and prints, a large brim around the print is enough to hold it down. Not so much at this scale. Clamps was the only way to keep it attached to the bed.
Prin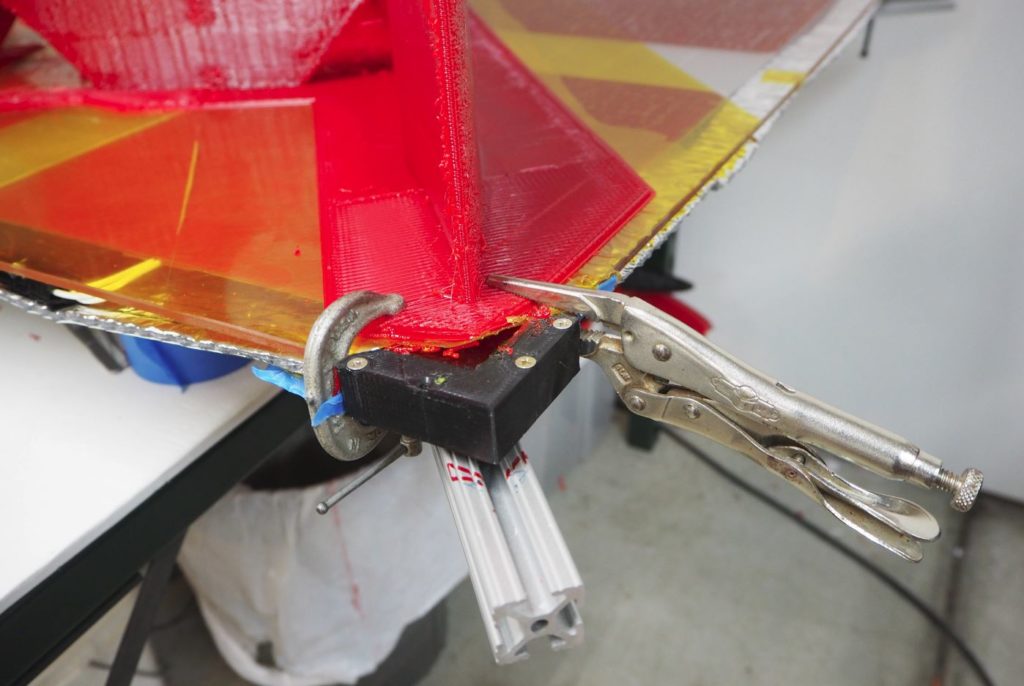
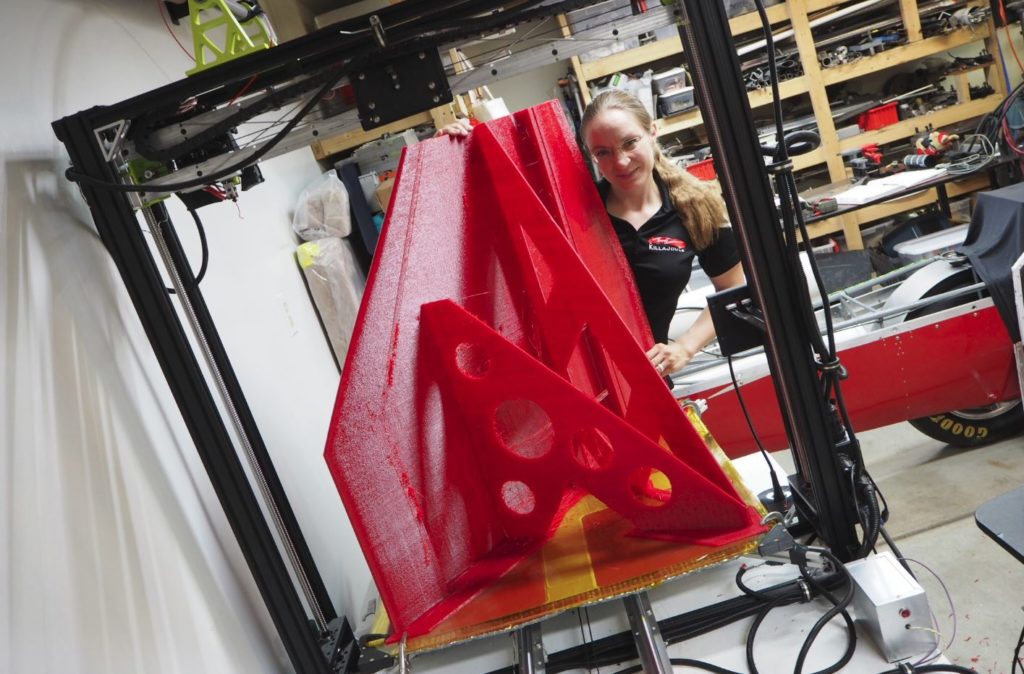
Print is done! This was the 3rd one we printed. The supports on the side of the print were necessary to keep the print upright and stable while printing.
These pictures are a little bit out of order, but I don’t have photos of all the different versions being printed. This was our first tent print. It was made from corn-based PLA plastic, which is a cheaper and more eco-friendly plastics. Unfortunately, it couldn’t be used for the final version because it softens at a low temperature. At about 60 degrees Celsius the print will get soft and deform, and sitting in the sun at Bonneville it could possibly reach that temperature, and we didn’t dare to take the chance. Instead, the final version was made from PETG, a type of polyester and very similar to the material you make water bottles from.
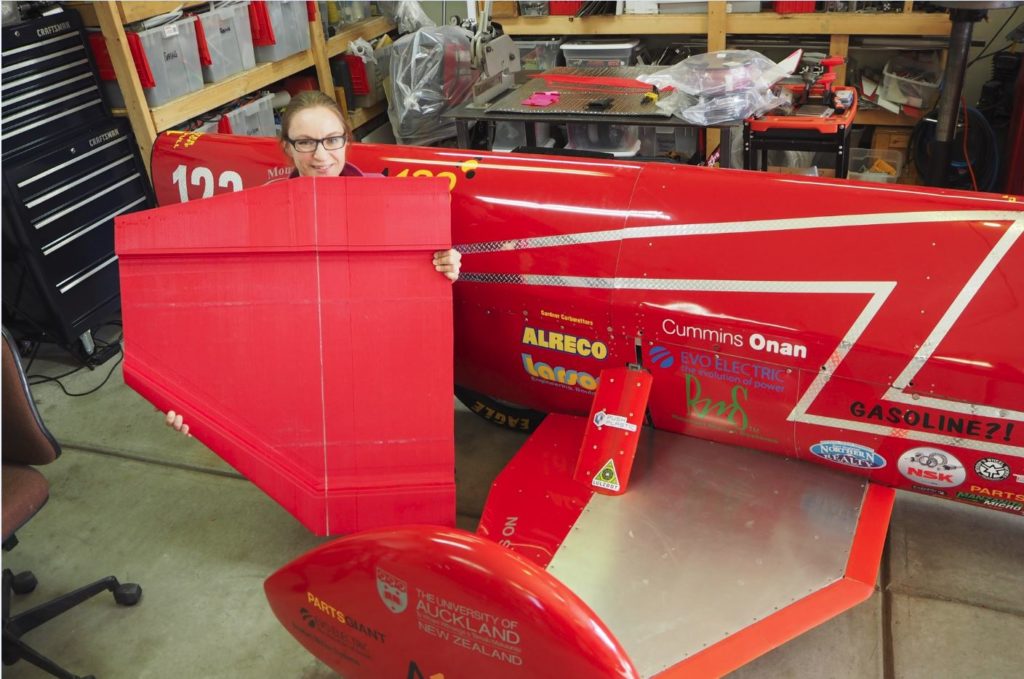
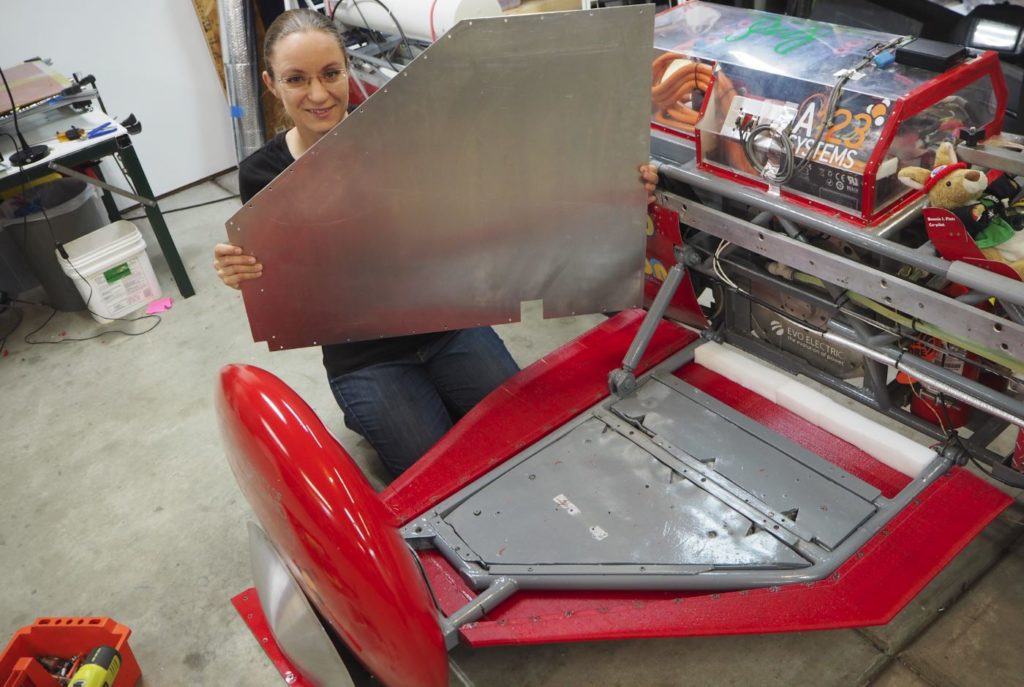
The first print had to be aborted halfway due to printer problem, but we restarted and printed the other half separately. Thata’s why the piece I am holding has a seam in the middle – it is glued together from two pieces. The sidecar skin on the KillaJoule is the previous version made from aluminum sheet metal with just the leading edge (the front edge) being 3D printed.
First fitting! The skin was a little bit too short, so some changes were made in the CAD model before the next one was printed.
The 2nd version fit better!
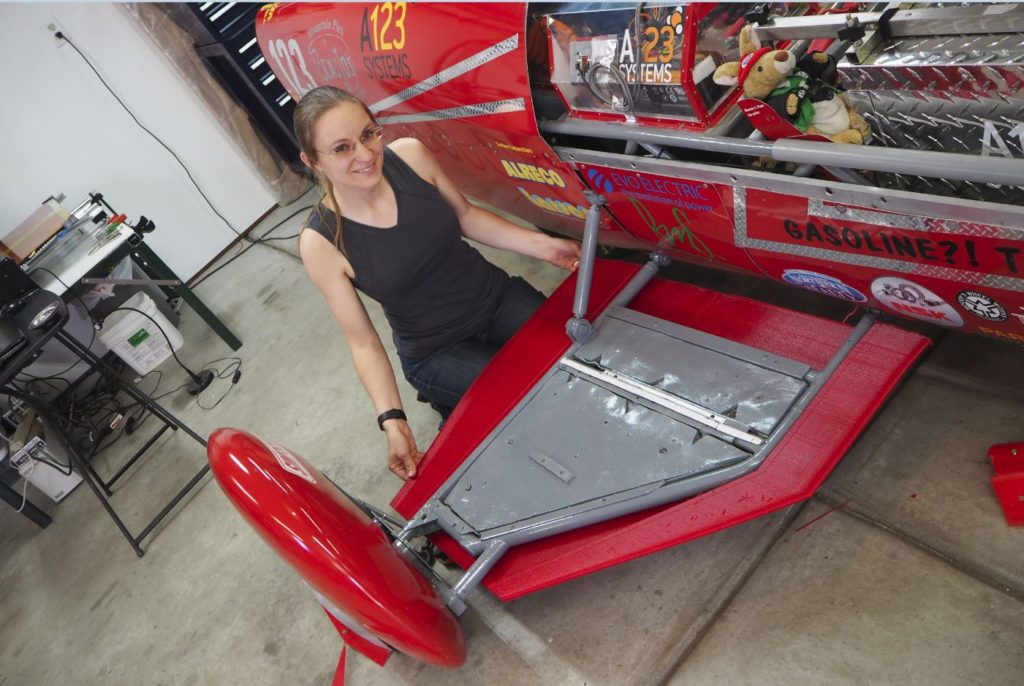
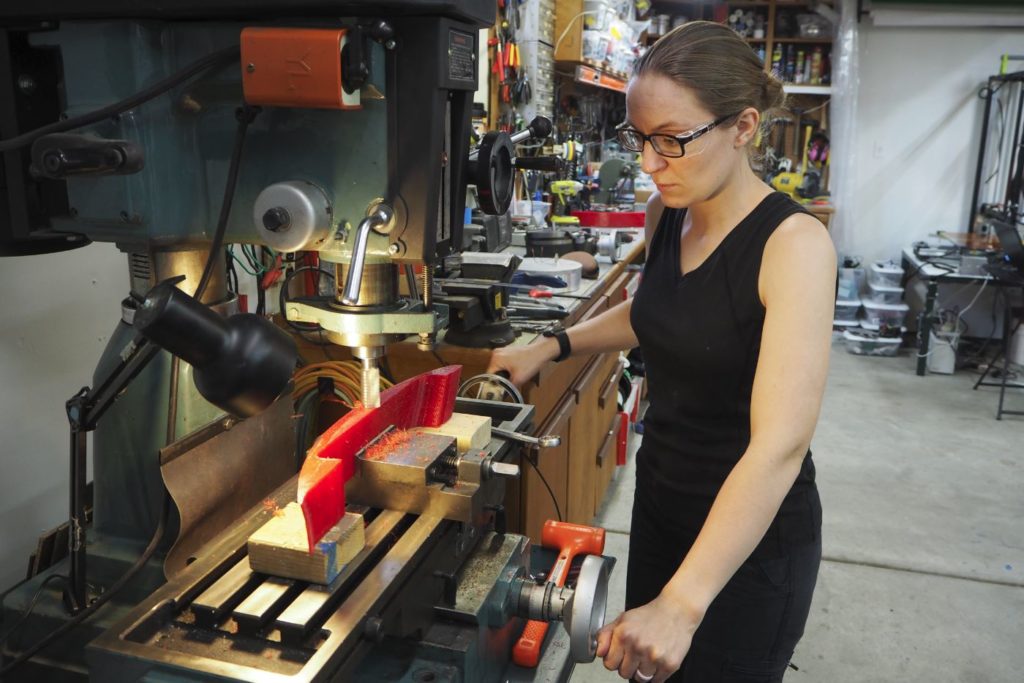
But, the sidecar was just too tall for the printer, so we printed the very last part as a separate piece. I machined down the surface to fit and the be perfectly flat before gluing the pieces together. Some old take-out food bamboo chop sticks were perfect to line up the pieces.
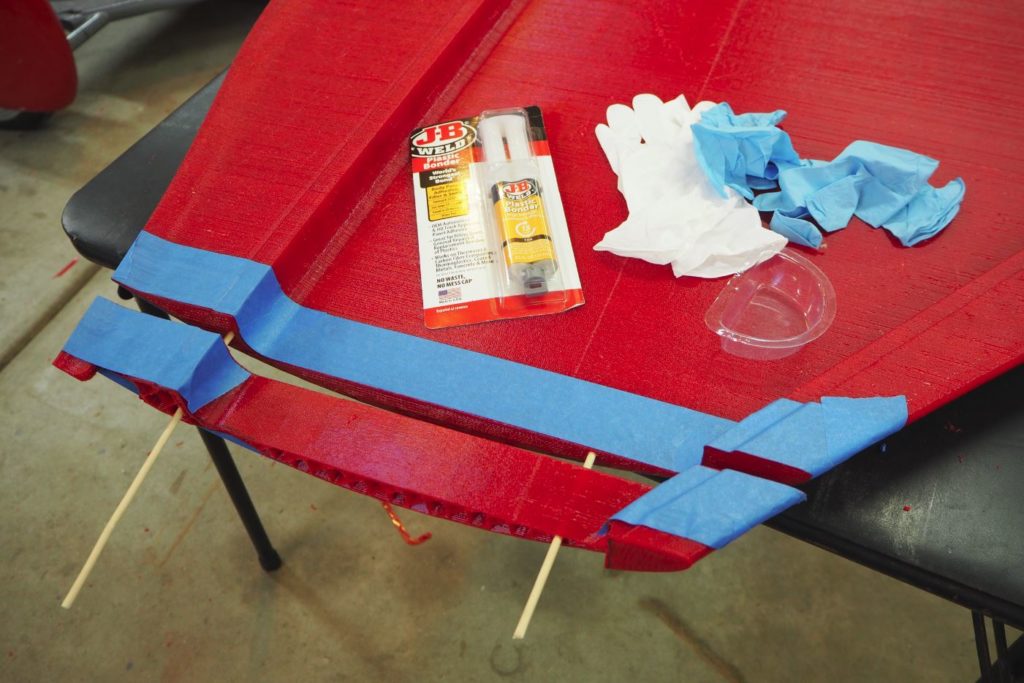
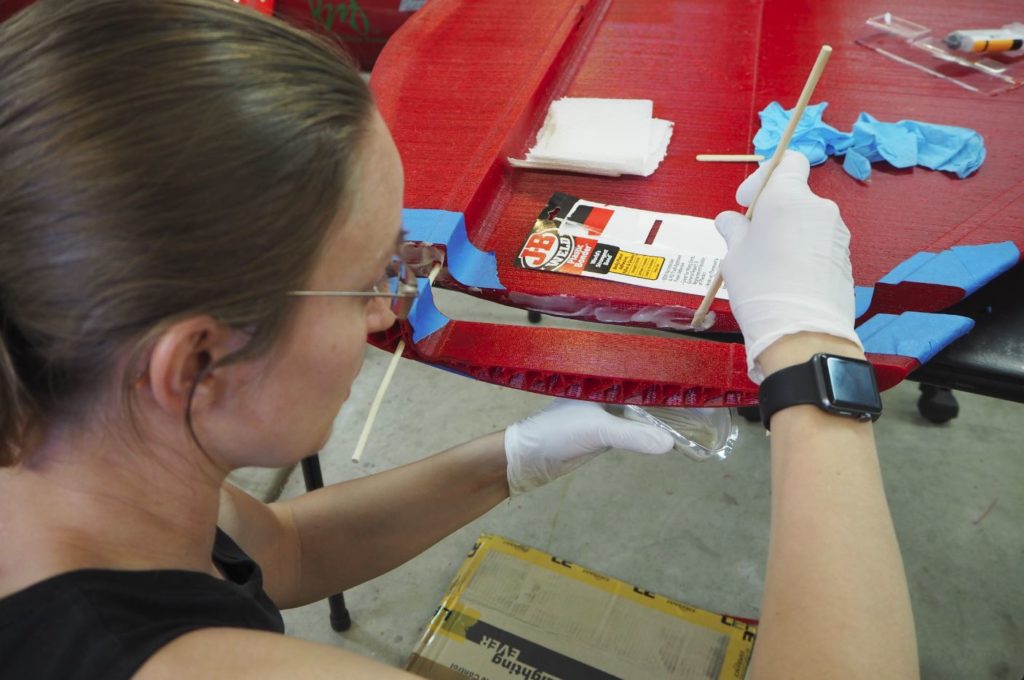
JB Weld “Plastic Bonder” works great for gluing 3D printed parts both from PLA and PETG.
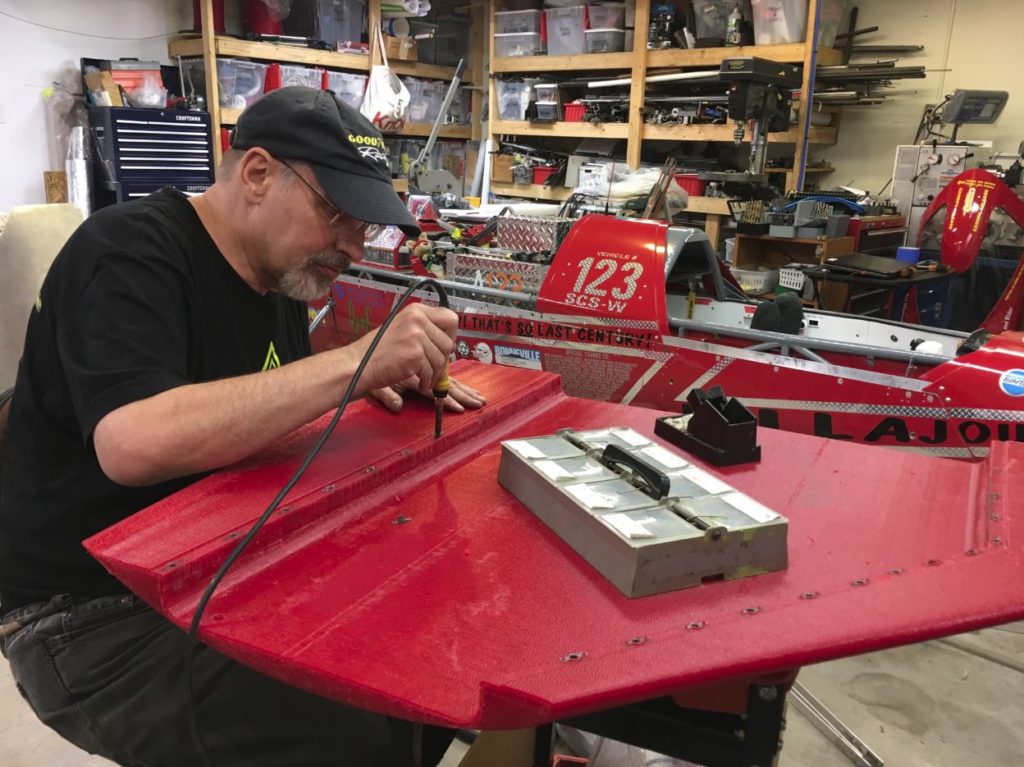
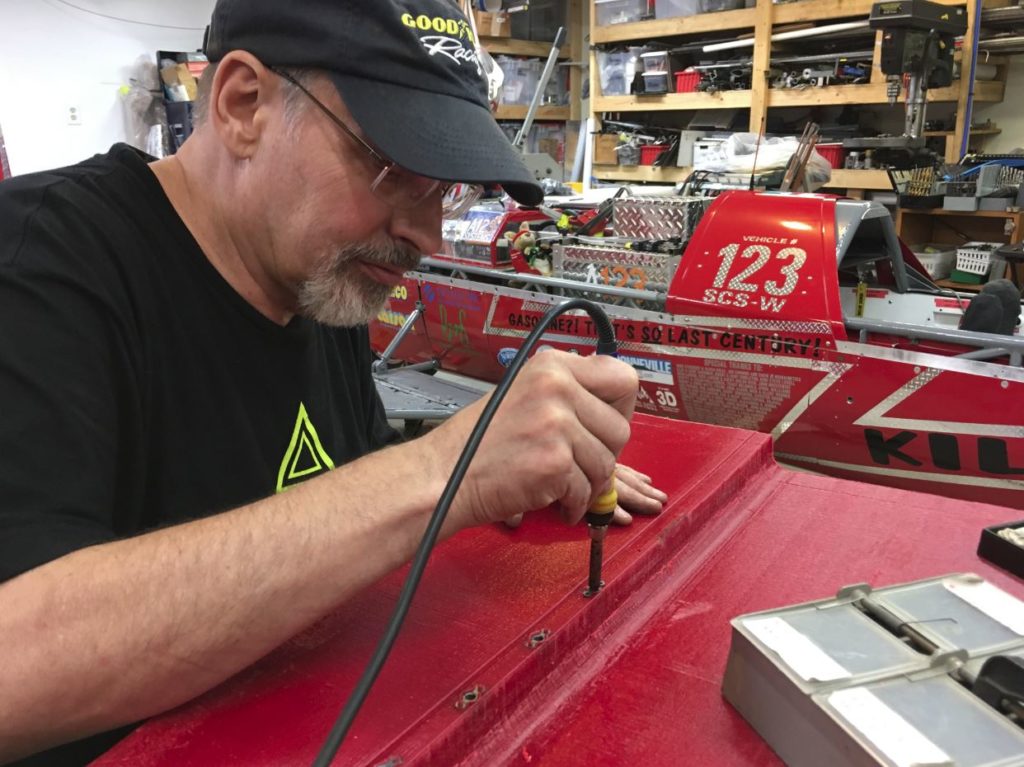
Here is the finished sidecar skin, and the extra one we printed with a different amount of downforce. The top is a single-curved piece of sheet metal, and installing it was bit of a challenge in itself. You can put a screw directly into the plastic, but it is not very strong it was unlikely that it would hold for 450 km/h.

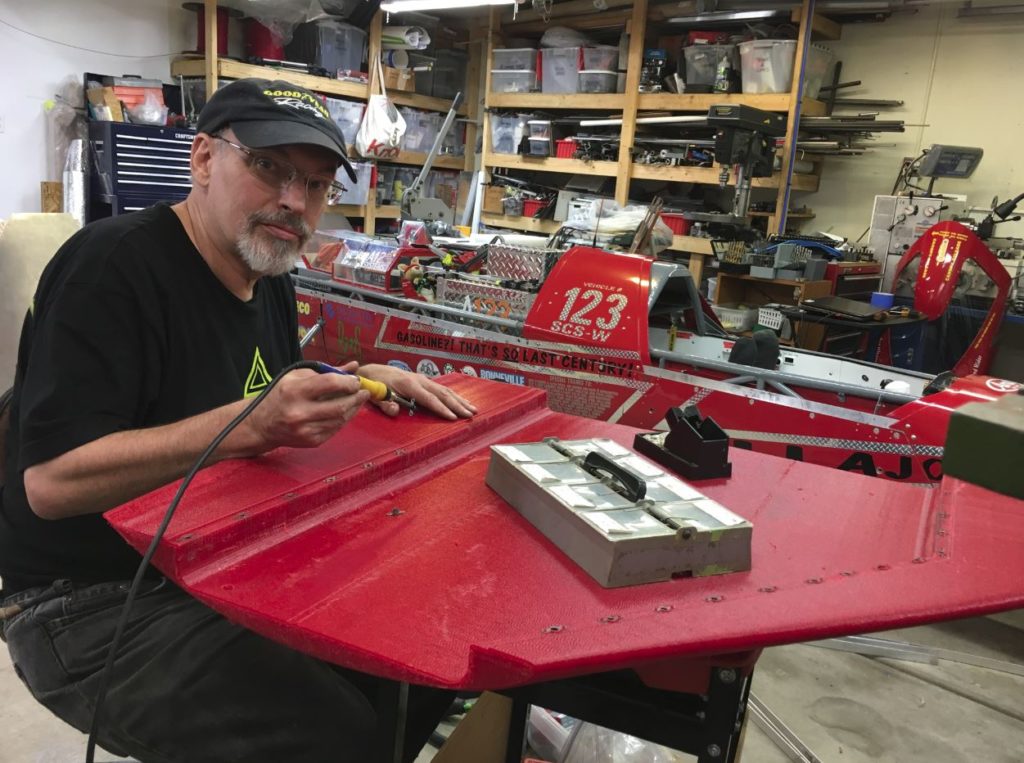
Instead, Bill came up with the clever idea of inserting “nut plates” into the plastic. It is quite common to heat up nuts and press them into a 3D printed part, but it is not very strong. By using “nut plates” originally meant to be riveted onto sheet metal, the plastic would get a much better grip. Bill heated them with a soldering iron and pushed them into the plastics.
The result was beautiful and very strong! 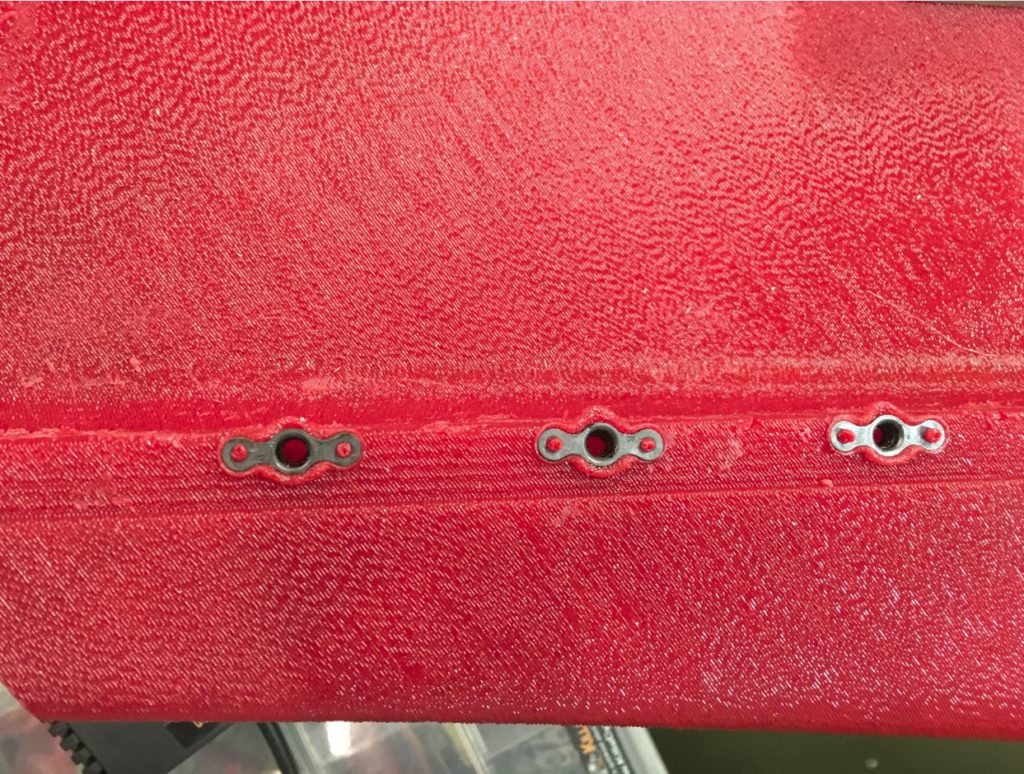
Sheet metal top is going on!
I use the half-scale model I am holding in my hands to explain the design. 
This re-started print clearly shows the quite aggressive airfoil that generates about 100 kg (220 lbs) of downforce at 300 mph. 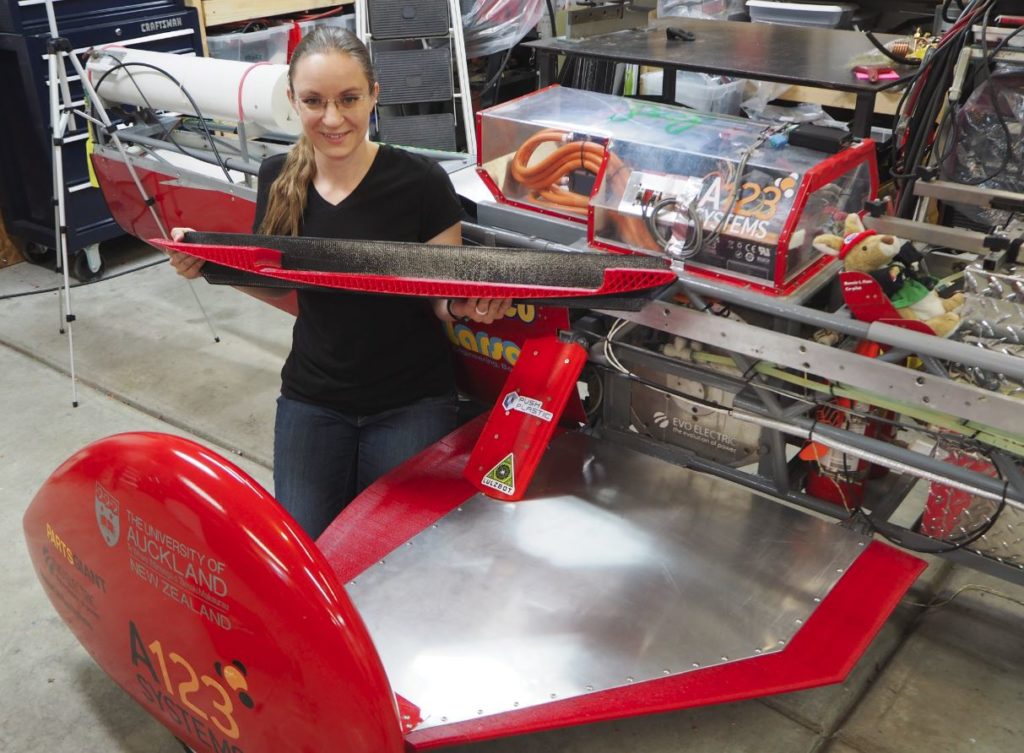
Bill also designed and 3D printed an aerodynamic cover for the strut supporting the sidecar. 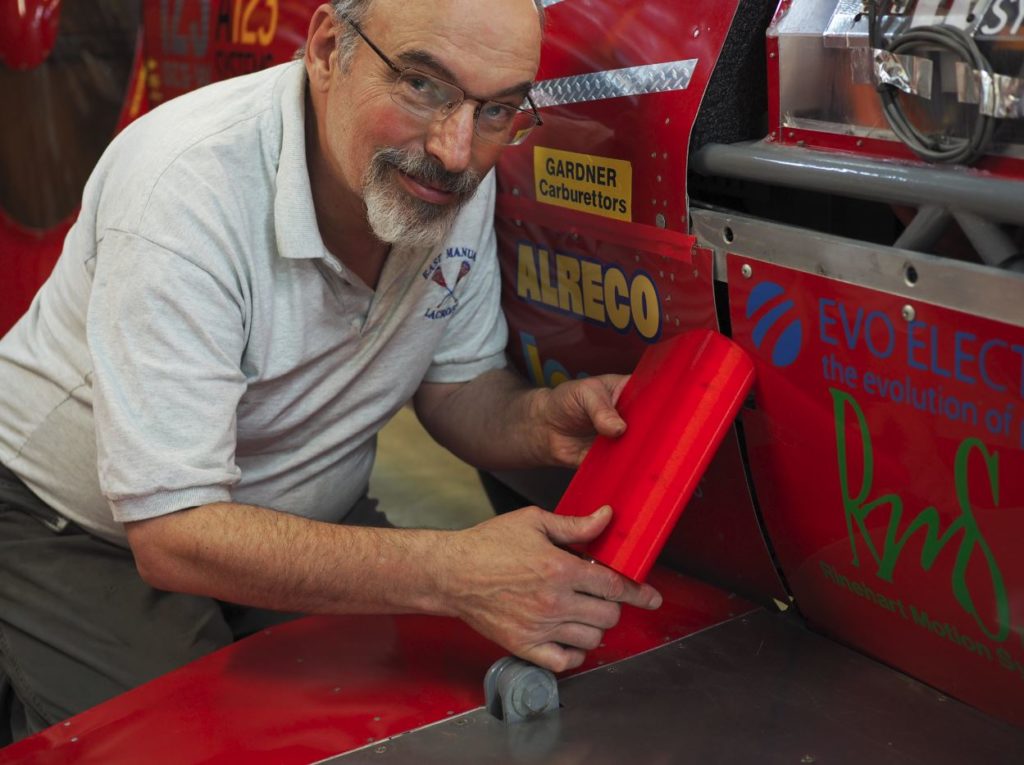
The metal sheet top turned out to also be the perfect place to feature all the people that helped us along the way! 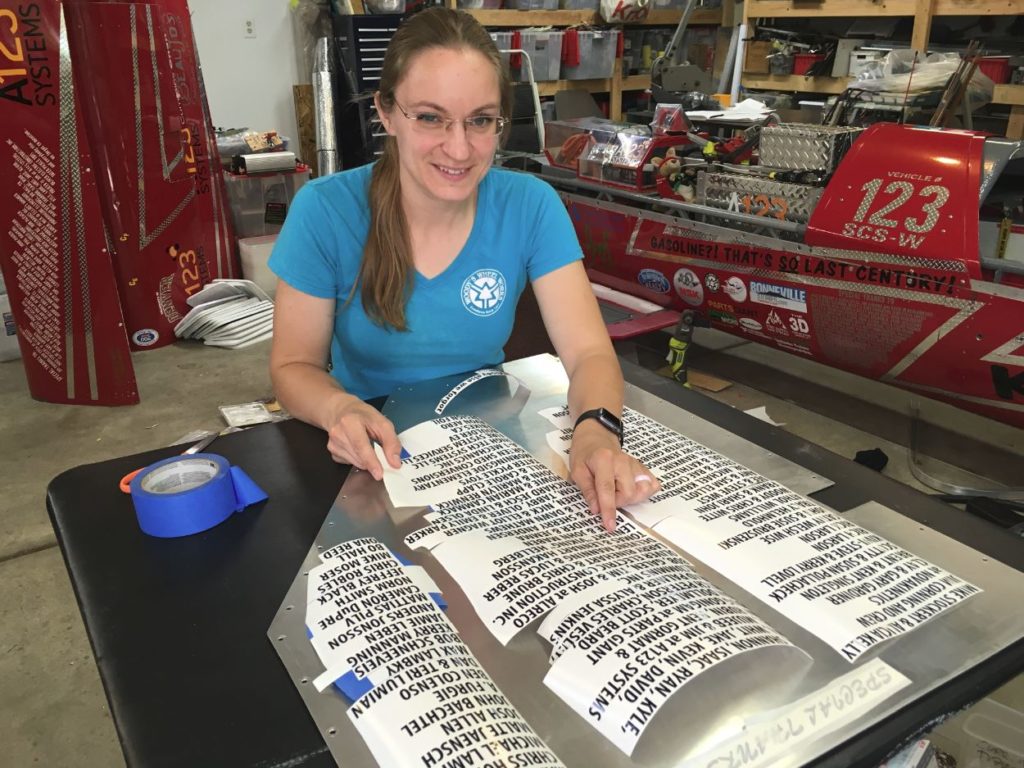
The finished sidecar cover! I think it is absolutely beautiful! 
Stay tuned for more 3D printed parts, we will post them here on GreenEnvyRacing.com! Make sure to also “like” my facebook page to get the latest news directly to your feed: www.facebook.com/EvaHakanssonRacing.